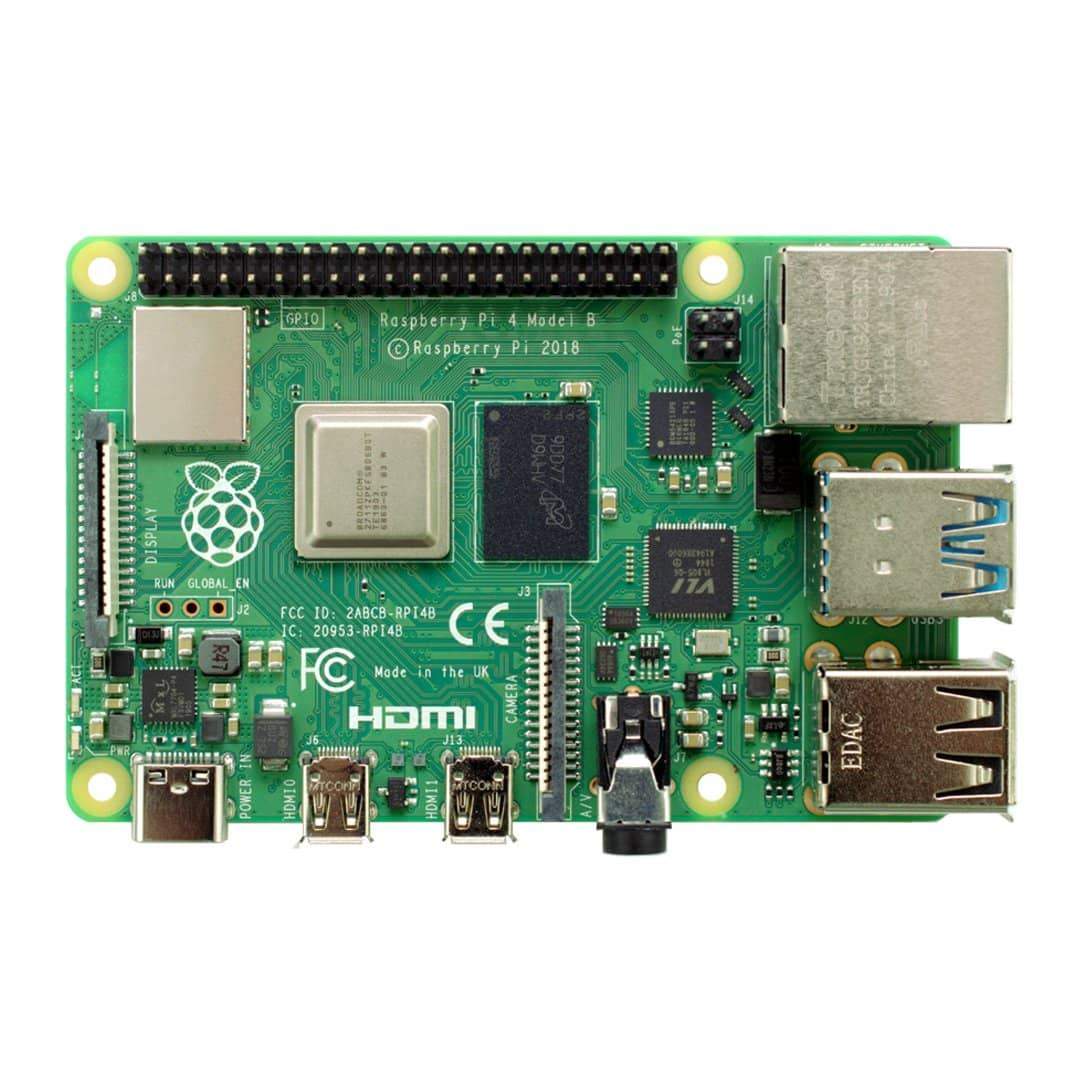
How to – Setup FreePBX 15 & Asterisk 16 on a Raspberry Pi 4
Creating a “Contact Center to Go”
For this setup I used the Raspberry Pi 4 Model B – 8 GB encased in the above casing. I will go over step by step instructions on what I just did to create a little “mini mobile call center to go” with FreePBX 15 and Asterisk 16.
Step 1 – Purchase a Raspberry Pi and micro SD card
Personally I went with Vilros.com for my purchase and was not disappointed.

Step 2 – Download RasPBX
You need to download RasPBX next, I downloaded it from the main source at http://www.raspberry-asterisk.org/downloads/ and then unzipped the file which gave me a raspbx-10-10-2020.img file
Step 3 – Download Win32DiskImager and begin installation

Install Win32DiskImager and then choose the raspbx.img and the drive you have your micro SD card on and click “write”.

Step 4 – Start up your Rasperry Pi & updating it
Once you power on your device and let it start up, you will be prompted for a username and password. The user is “Pi” and the password is “raspberry”. After you login and make sure you have an internet connection, run “raspbx-upgrade” to update everything and check if Asterisk is running correctly.

Step 5 – FreePBX
Lets get started on FreePBX setup now. Go to http://raspbx.ip and click on Admin > Admin Module and check online for updates


You now have a “Contact Center to Go” in your pocket.
If you have any questions or comments, feel free to reply to this post or hit me up on Skype.


Ita
Does it run on Raspberry PI3